
How to use the planner
Everything the planner can do, roughly in the order you'll use it. If you just want a quick shortcut reference while you're working, the tool has its own Controls button in the toolbar — this guide goes into more depth on the why, not just the key.
Placing your first piece
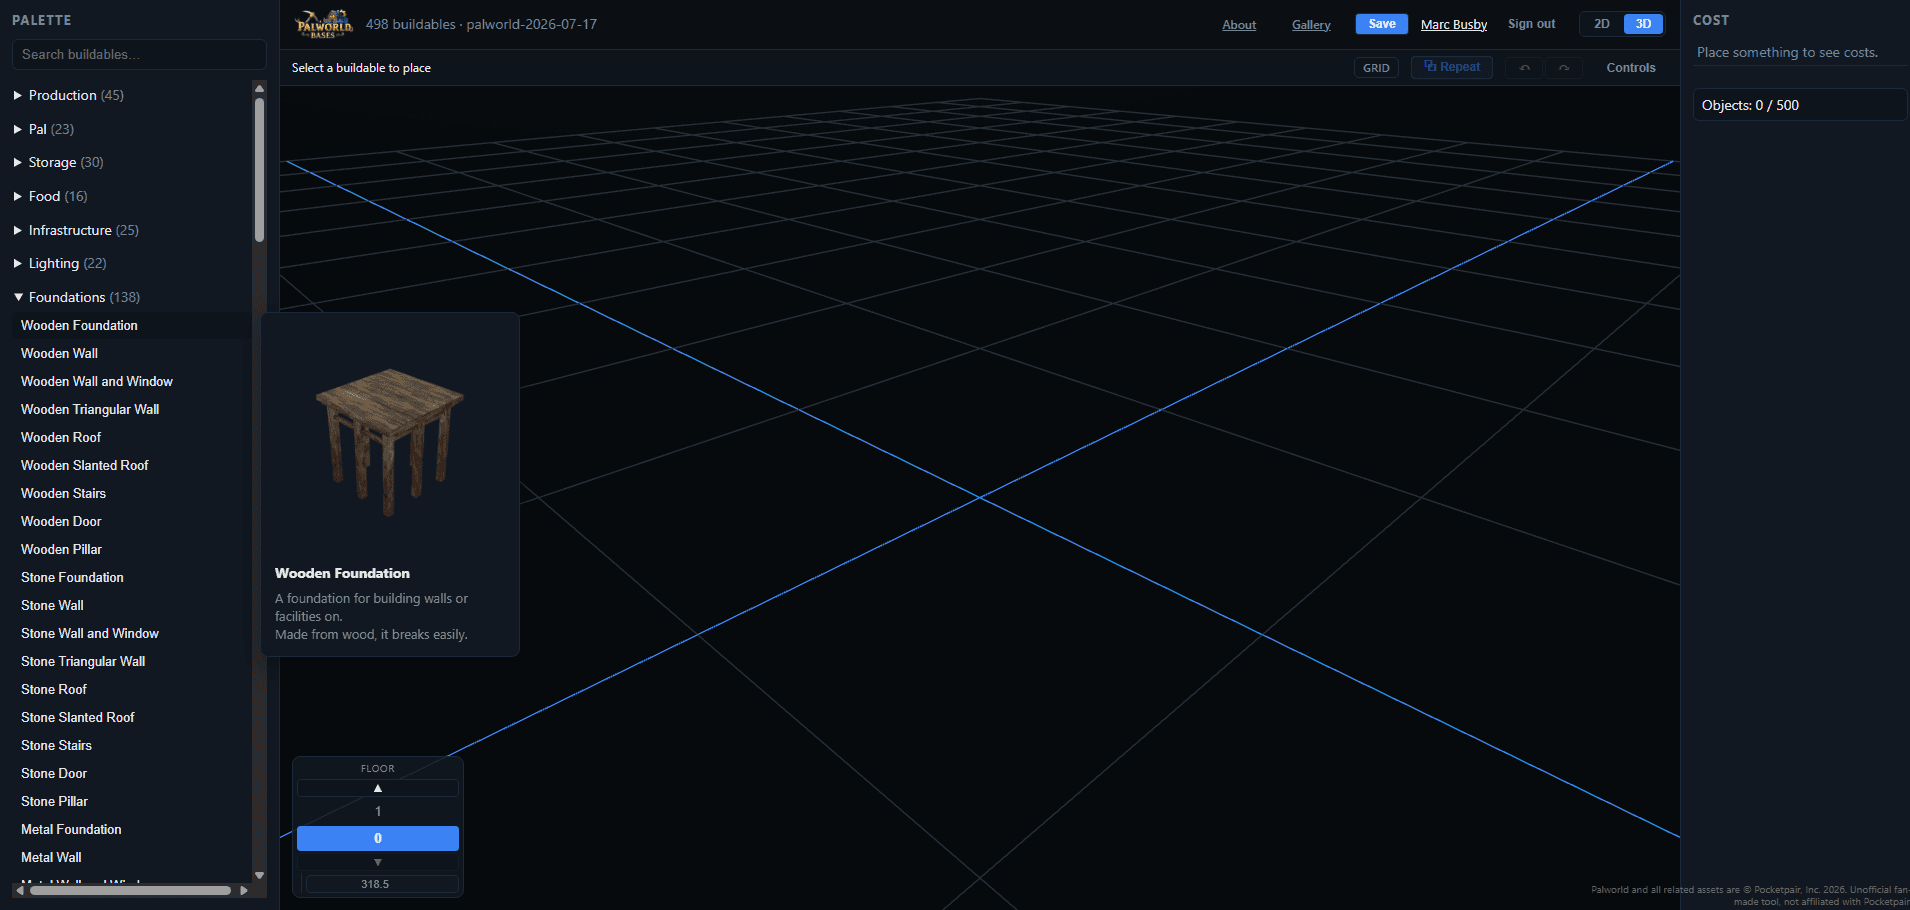
The Palette on the left lists every buildable in the game, grouped by category (Foundations, Walls, Storage, Production, and so on) with a search box at the top if you know what you're after. Click one to arm it, then click anywhere on the grid to place it. It stays armed after placing, so you can drop several in a row — press Escape or click the item again to put it down.
Snapping pieces together
Hold Ctrl while placing (or dragging) and the piece will snap to nearby sockets — foundation edges, wall tops, wall sides — exactly like the game's own build snapping. Without Ctrl, pieces land on a gentle 100cm grid instead, which is what you want for furniture and other items that don't need to socket onto anything. Holding Alt snaps to alternate targets (useful for hanging a piece under the ceiling above) and drops it one floor below the one you're viewing.
Rotating
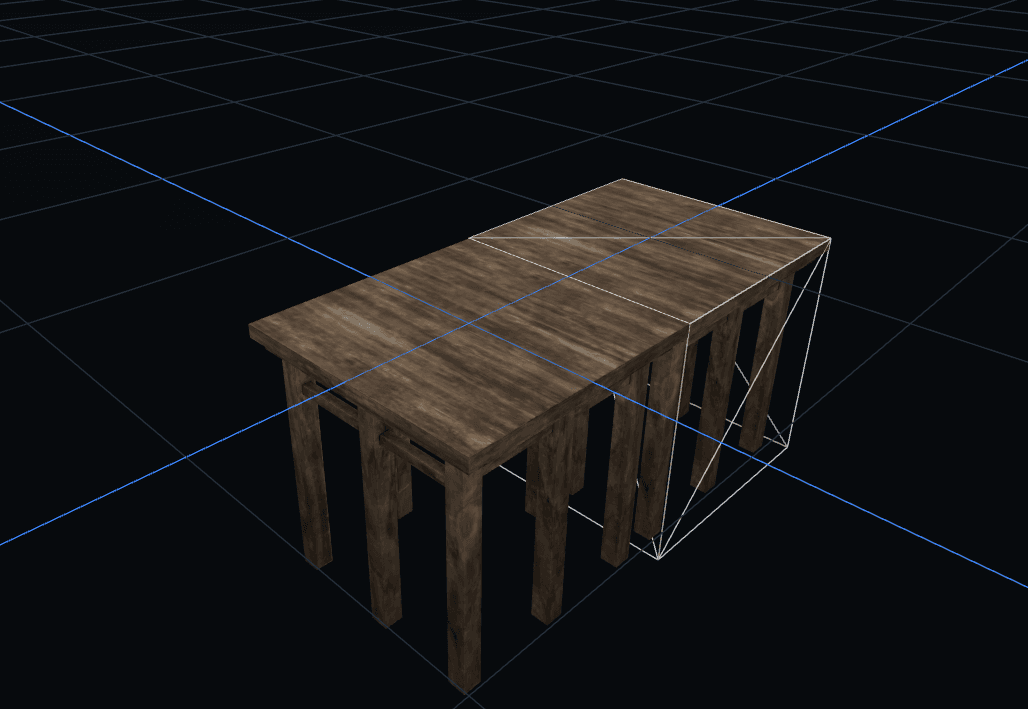
Press R to rotate the selected piece 90°, or hold Shift and scroll for a fine 15° turn (foundations stay locked to 90° so they keep tiling square). Corner pieces like diagonal walls place pre-angled on the 45° so they land on a triangle foundation's hypotenuse correctly.
Selecting more than one piece
Shift+click a piece to add or remove it from the current selection. Shift+drag across empty space draws a marquee box and selects everything inside it. Ctrl/Cmd+A selects everything on the floor you're currently viewing. Once you've got a group selected, dragging or rotating moves/spins the whole thing together, keeping its shape — handy for repositioning a whole room at once instead of piece by piece.
Step-and-repeat
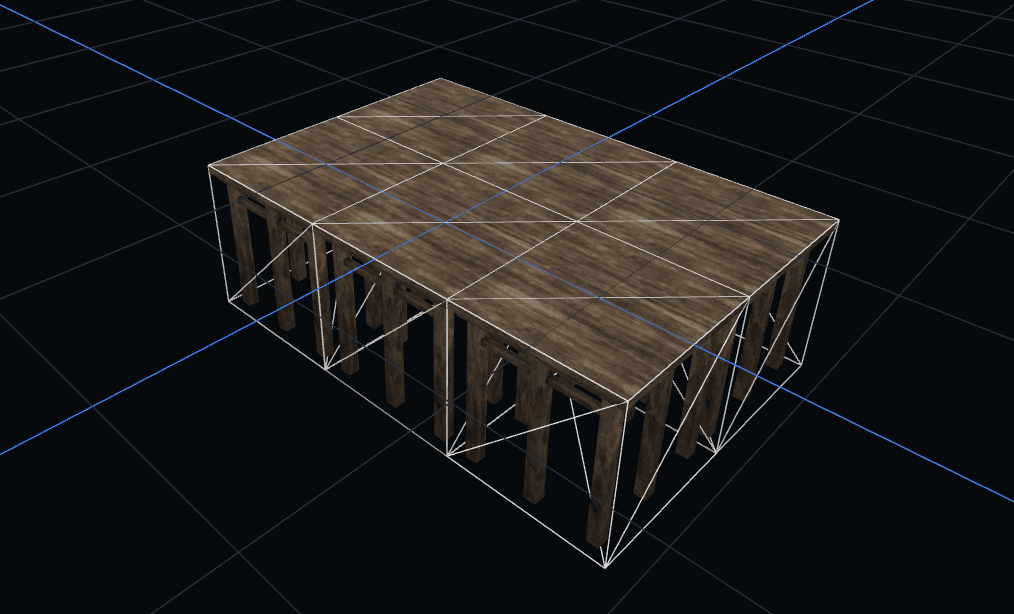
Instead of placing a wall, nudging, placing another, nudging again — select a piece and either hold the Repeat button (or the D key) to stamp a flush row along its own length, or use Shift+arrow keys to repeat in whichever screen direction you point — right always means right on your screen, however you've orbited the camera. The spacing is always exact, so there's never a gap or an overlap, even on a piece rotated to an odd angle.
Floors
The floor picker (bottom-left) shows every floor in use, plus one empty floor above the highest you've built on. Click a floor to make it active — new pieces land there, and it's what Ctrl/Cmd+V pastes onto. Floors below the active one stay visible, faded, so you can still see alignment through the floor you're working on; floors above are hidden so they don't get in the way.
To copy a whole floor up a level: select everything on it (Ctrl/Cmd+A), copy (Ctrl/Cmd+C), click the floor above in the floor picker, then paste (Ctrl/Cmd+V). It lands at the same X/Y, one floor up.
Costs and the base-object cap
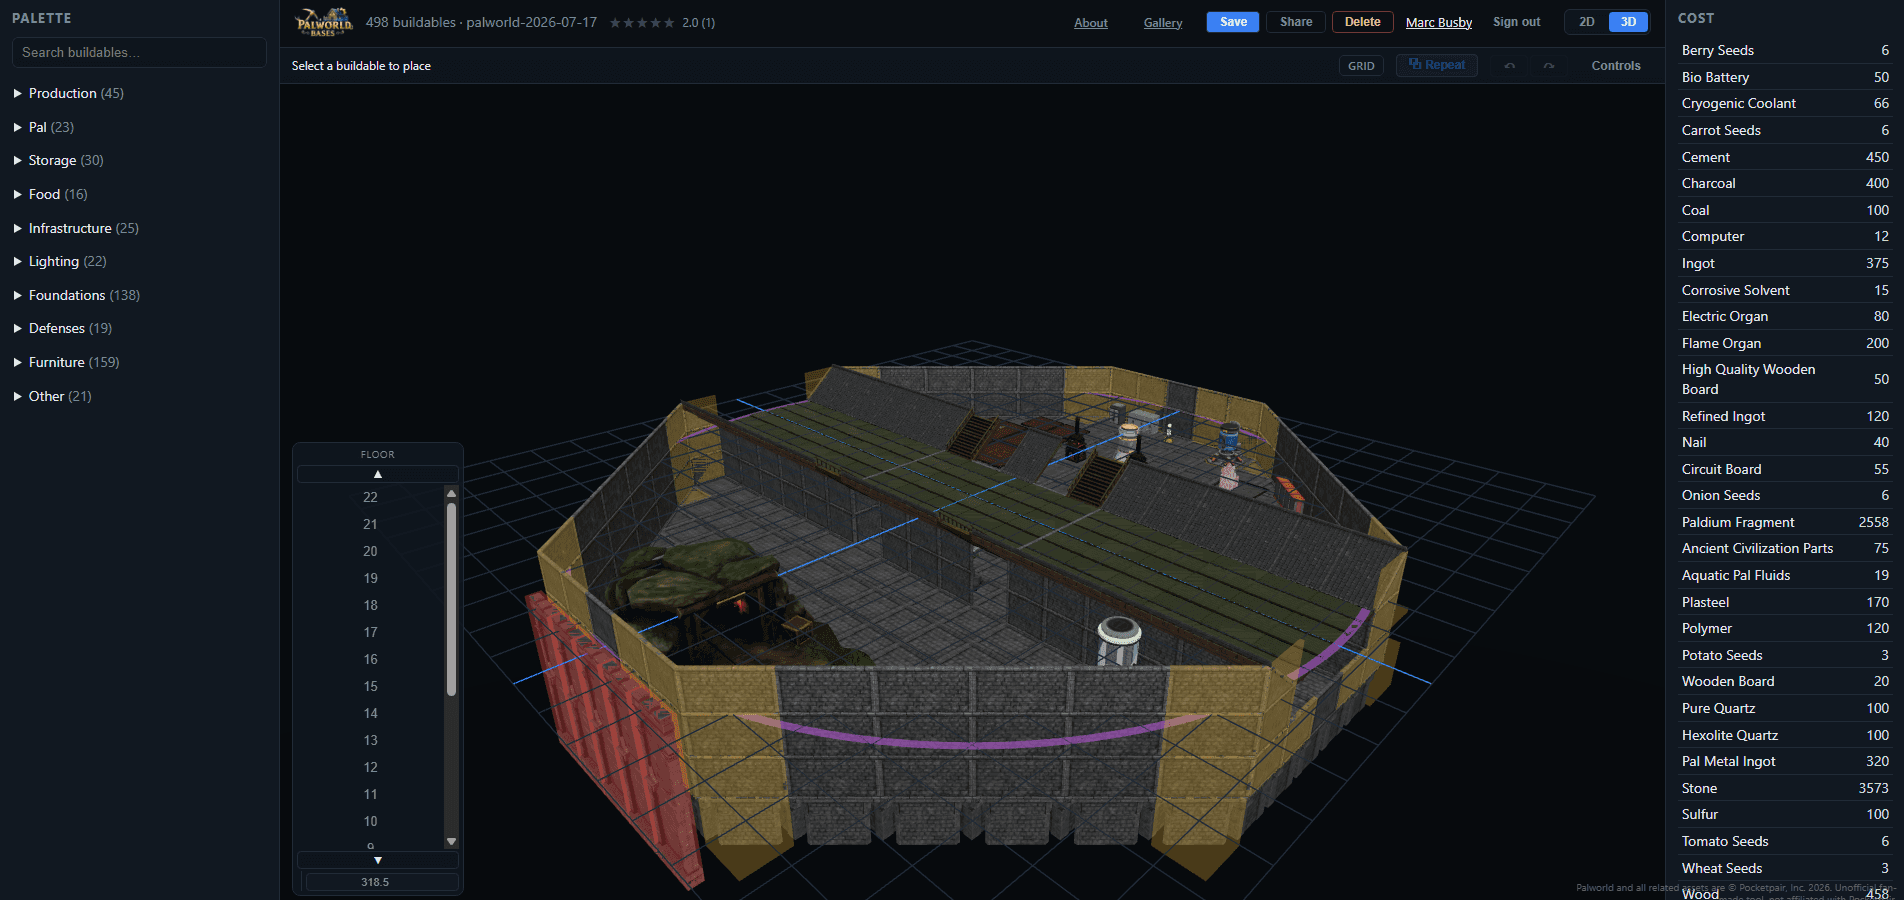
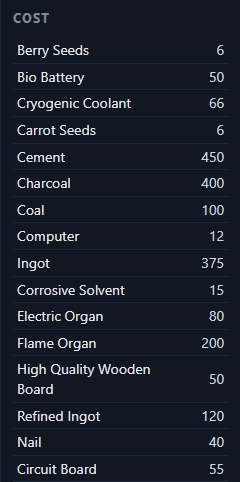
The Cost panel on the right tallies every material you'll need, live, as you place things — so you find out you're short on Ingots before you've actually spent them in-game, not halfway through. It also tracks your object count against the game's base-object cap, and flags anything sitting outside the Palbox's range ring in amber (it'll still build, but it degrades over time in-game) and any pieces genuinely overlapping each other in red.
Saving and sharing
Sign in (free, just for saving) and hit Save to name your base, add notes, and optionally publish it to the public gallery. Saving gives you a shareable link — send it to anyone, no account needed on their end to view it. If the game's data changes later, an already-saved base still shows the costs it was built with, and flags if anything's since changed price.